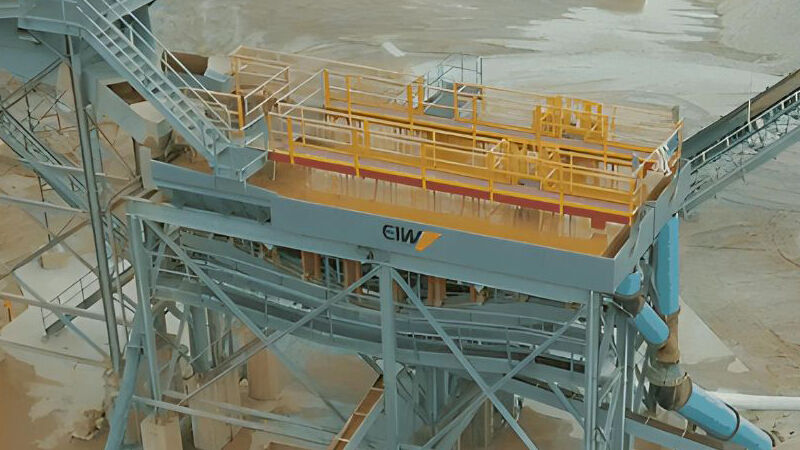
How To Replace A Stall Motor On A Classifying Tank
Instructions
Before performing maintenance on a Classifying Tank, be sure to read and follow the installation, operation and maintenance manual. Follow the appropriate lockout/tagout/blockout procedures, and read and follow all safety tags. Failure to do so could result in injury or death.
- Switch off the power to the Classifying Tank and lock the switch in the OFF position to ensure no power can get to the Classifying Tank while replacing the stall motor.
- Loosen the screw on the cover and remove the cover.
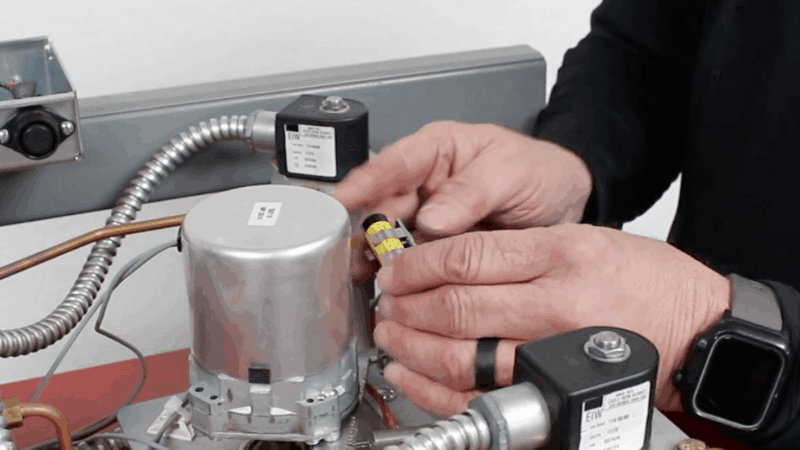
- Remove the set screw on the stem.
- Unscrew the wires connecting the stall motor to the terminal block.
- Remove the stall motor.
- Unhook the spring from the stall motor.
- Install the new stall motor on the Paddle Rod with the Drive Pin, ensuring that it is inside the Paddle Guard. Tighten the set screw on Stall Motor.
- Secure the wires to the terminal block.
- Attach the spring. Refer to the guide to determine what color spring to use and what setting it goes in.
- Replace the cover and tighten the screw.